HW Assignment 3 Tutorial
Overview
This tutorial explains how to deploy and develop a Heroku app through GitHub that can run a node.js microservice that uses Google Firebase Firestore and a React Front End. The tutorial covers creating GitHub, Heroku, and Firebase accounts, deploying your app via Heroku, and developing your web app locally. To work through this tutorial, you will need to be connected to the internet, you will need to be comfortable issuing commands through a command-line terminal interface, be comfortable with the git version control system, and you will need to know how to program in javascript, node.js, and react.js.
Prelude
We will be using GitHub Classroom to help manage the GitHub repositories for this assignment, and we also cover the basics of using it in this tutorial.
Please take a moment to explore each concept, technology, command, activity, and action used in this tutorial. We try to strike a balance between brevity and completeness, and welcome feedback and suggestions. (Feel free to make an Ed post if you have questions!)
Additionally, check out Dr. Moran's Week 10 lecture video, where he covered many of the basics of getting started with Homework 3 using Express and React.
Create GitHub and Render and Firebase Accounts
The first thing that you need to do is create free accounts for both GitHub and Render.
- You can sign up for a free GitHub account account using this link.
- You can sign up for a free Render account account using this link.
- You can sign up for a free Firebase account using this link.
Joining the Assignment in GitHub Classroom
Accepting the Assignment
In order help organize the repos for the second homework assignment, we will be making use of GitHub Classroom. By "accepting" the assignment in GitHub Classroom, the service will automatically create a copy of the repository with the starter code that we covered in class. This will help get you up and running for this assignment. To "accept" the assignment, please click on the button below. (Note that you will be prompted to sign in to your GitHub account if you haven't already)
Note
It is important to note that you should only work out of this repository for this assignment. We will grade the last commit made before the deadline (see the hw3 assignment page for more details). If you make a commit after the deadline, we will grade that instead and your assignment will be considered late.
Warning
Note that the repo that is created is not associated with your GitHub username. Instead, it is associated with the GMU-SWE432-S23 GitHub Organization and your GitHub user is granted access. Therefore, it may not show up in the usual places where you find your personal repos in GitHub. Once you are added to the organization (see next instructions) it will be easy to access (You can do this by access the organizations page of your account). However, we also encourage you to bookmark link to the repository generated by GitHub Classroom.
Starter Project Structure
In order to give you an overview of the starter project, below, we provide the details regarding the most important included files below:
- app.js - This is the main JavaScript file containing the express app module and some initial logic to demonstrate the implementation of a couple very basic API endpoints. This should be your starting point for implementing the logic of your app. Note, that is is likely you will want to write some of your functionality in multiple files. That is, in order to better organize your web app (keeping in mind the principles of coupling and cohesion from class) you will likely want to break some units of functionality into different classes and files. In this case, you should export these files as modules and import them into the
app.jsfile. Note that you should only have one express server for this mircoservice - pckage.json - This the configuration file for
npm. This lists several different attributes for your application and provides some details about the various modules (i.e., packages) being used by the project. You are free to update this file if you wish, but this is neither required nor necessary for this project. Note, that this package.json file contains more scripts than the previous assignment in order to allow us to separately test the backend and frontend (test:backend&test:frontend), as well as setup the project (setup) start the project (start) and allow heroku to properly deploy the React code (heroku-postbuild). To run any of these commands you can use thenpm runcommand. For example,npm run test:backend. - app.test.js - This file will hold any optional jest/supertest. We have provided one example test in Jest format that makes use of the supertest framework to validate some properties of the HTTP requests made by your API endpoints.
- server.js - This file contains the
listenstatement that starts theExpressserver. You will notice that theapp.jsmodule is imported. The reason this functionality is broken up into a separate file and not included in theapp.jsfile is simply to make the automated testing process with jest and supertest easier. - client - This directory is new for this homework assignment and contains the code for the React frontend of our application.
- Configuration Files - Note that this React project also has its own
package.jsonfile as well as a few other configuration files. - src This directory contains the source code for our React App.
- App.js - This is the main
.jsfile for your React project and will contain most of the logic for the application. - App.css - This is a css file that you can use to apply various CSS styles of the different parts of your React components.
- App.test.js - Similar to the test file in the Express project, this file contains tests for the front-end of your application.
- index.js - This file imports our application and react components and then renders them on the screen.
- index.css - This file allows you to apply general css styling to your application.
- App.js - This is the main
- Configuration Files - Note that this React project also has its own
Understanding Continuous Integration with GitHub Actions
Currently, the starter repo is configured to run your Jest tests each time you push your code to the repository (See Section 5 for more information about how to push changes to your repo). This form of automated testing is a type of continuous integration (CI). Continuous integration is essentially the practice of automating the integration of code changes from contributors to a software project, and is generally considered to be a DevOps best practice.
Here we are using a simple form of CI, as your automated Jest tests will run each time you modify code and update your Github repo with the changes. As we will see in the next section ,we will configure Heroku to only deploy the application if your automated tests pass. We are enabling the automated tests using GitHub Actions. WE will touch on this more later in this tutorial.
Note
Note that since they are not required for this assignment, you can disable the CI tests running by deleting the .github folder from your repository.
Setting up Google Firebase Firestore
In order to persist data for your application, in this assignment, you will need to create a free Firebase account and set up a Firebase app so that you can use Firebase as your backend.
First sign into Firebase and go to the console. This should bring you to the following screen:

Once on this page, click on the "Add project" button. Enter an appropriate name for your project (e.g. swe-432-hw3) and click through the next few screens to accept the terms of service and create the app. You do not have to enable analytics if you do not wish to. Once your new project is ready, click "Continue" to be brought the Firebase Dashboard shown below:

Then click on "Firestore Database" menu item to be brought to the following screen:

where you can then click on the "Create Database" button, which will bring up the following option:

Next make sure that the database in set to run in "Test mode" for easy development, and then select a region to provision the database (anywhere in the US is fine).
You can then set up the structure of your database to fit your data, or import your data from your application when you run it either locally or through Heroku on the the following screen:

Next, we need to generate a key so that your Express application can access your Firestore Database. To do this, first click on on the settings icon, and then select "Project Settings":

From there, select the "Service Accounts" Tab:

Then click on the the "Generate New Private Key" button while the Node.js option is selected in order to download a json file that contains your key:

this is the key that you will use in the folliwing line of your app.js file in your express project:
1 | |
Handling your Firebase JSON key in GitHub
Given that most students will be using free Firebase accounts, and we are not concerned with the security of the the web app at this point, and your repos are private, you can commit the json file with your Firebase credentials to your GitHub repo (however, you should remove this if you make the repo public).
However, if you prefer, you can also use GitHub Secrets and Heroku Config Variables to store your Firestore API key. So that you don't have to commit it to your Github repo.
For Heroku, you can access your key by using process.env.
Therefore, in this case, your Firebase code might look like the following if you call your config variable and GitHub secret FIREBASE_KEY:
1 2 3 4 5 | |
Deploying your Web App via Render
Now that you have been granted access to the HW Assignment #2 starter repo through GitHub Classroom and you have been accepted into the GMU-SWE432-S23 GitHub Organization you are ready to deploy the starter web application using Render.
Your Render app contains all the javascript files that you will deploy for your microservice. The name you choose becomes part of the URL address to your web apps. For instance, you can access an example web-app at https://kpmoran-swe-432-hw3.onrender.com for the example illustrated in this section.
First you should sign up for Render using your GitHub account as illustrated below (i.e., click the button highlighted in red).

After you sign up, you should be brought to the Render Dashboard which is illustrated below. Once on this page you should click on the card for creating a web service (highlighted in red).

This will then bring you to the page shown below that will ask you to create a web service. To do this, you will connect your GitHub account and choose your HW Assignment project in the GitHub Classroom organization for our class.

This will bring you to the page below that will ask you to select the repository that you wish to deploy. You should select the "Only select repositories" option, and then choose the repository in our class organization.

After connecting your GitHub repo, it should show up in the Web Service panel as illustrated below. Next, you should click on the "Connect" button associated with your project that you imported from GitHub.

Next, you will need to configure the web service to properly deploy your Node application. The first set of configuration options is shown below. To do this, you will need to give your web service a unique name (using the text field highlighted in red). We would like you to adhere to the following naming convention when creating your app: <firstname-lastname>-swe432-hw3. For example if Dr. Moran were creating his Render app, he would use kevin-moran-swe432-hw3. Next you should change the Region to the one that is closest to you (highlighted in blue). Finally, you should change the build command to npm install && npm run setup so that your application can be properly run (use the text field highlighted in orange). After this scroll down to access the next set of options.

Next, you need to change the start command to npm start and choose your machine configuration. We will be using the free service for this class, so select the free instance type as illustrated in Red below. After this, click the "Create Web Service" button highlighted in Green.

After this, you will be brought to the page shown below, where your app will be built and deployed for the first time. Note that this may take a few minutes. Your app will be deployed from your latest commit on the main branch of your hw3 repository, and you will be able to see the build process in real time in the virtual console. After your project has finished deploying, you can access it by navigating to the URL (highlighted in green).

After your project has finished building for the first time, it will redeploy every time you push a commit to your GitHub repo. For HW2, after your app is deployed, your web page should simply display a "Hello World" message, as shown below.

Compile and Build Errors
Render compiles your code when you push it. If the compile fails, you can see the errors through the virtual console discussed above. When you are ready to work through the next step of this tutorial, you can learn how to develop and compile locally, which is quicker and easier.
Setting Up and Using your Local Development Environment
Now that you have a GitHub repository to work from, and your web app will automatically deploy using Heroku, you need to set up an environment where you can develop and test your microservice and Front-end "locally" on your own machine. This section of the guide will walk you through the different steps and commands necessary to do so.
Note
This section of the tutorial assumes some familiarity with Git. If you are newer to using the Git version control system, I would encourage you to check out this guide.
Downloading and Installing Node.js and Git
Before we can get started with setting up your local development environment, you will need to install Node.js on your machine.
Please visit the node.js download page in order to download the version that is appropriate for your machine and operating system.
Install Git on your local machine from Git’s download site if you do not already have it installed. This will let you use the git command. For Windows, the Git download above adds bash if you do not already have it and has its own command window. If you already use cygwin, Git will add its command folder to your PATH environment variable. You can also use Windows Subsystem for Linux as mentioned earlier on in this guide.
Cloning Your repository
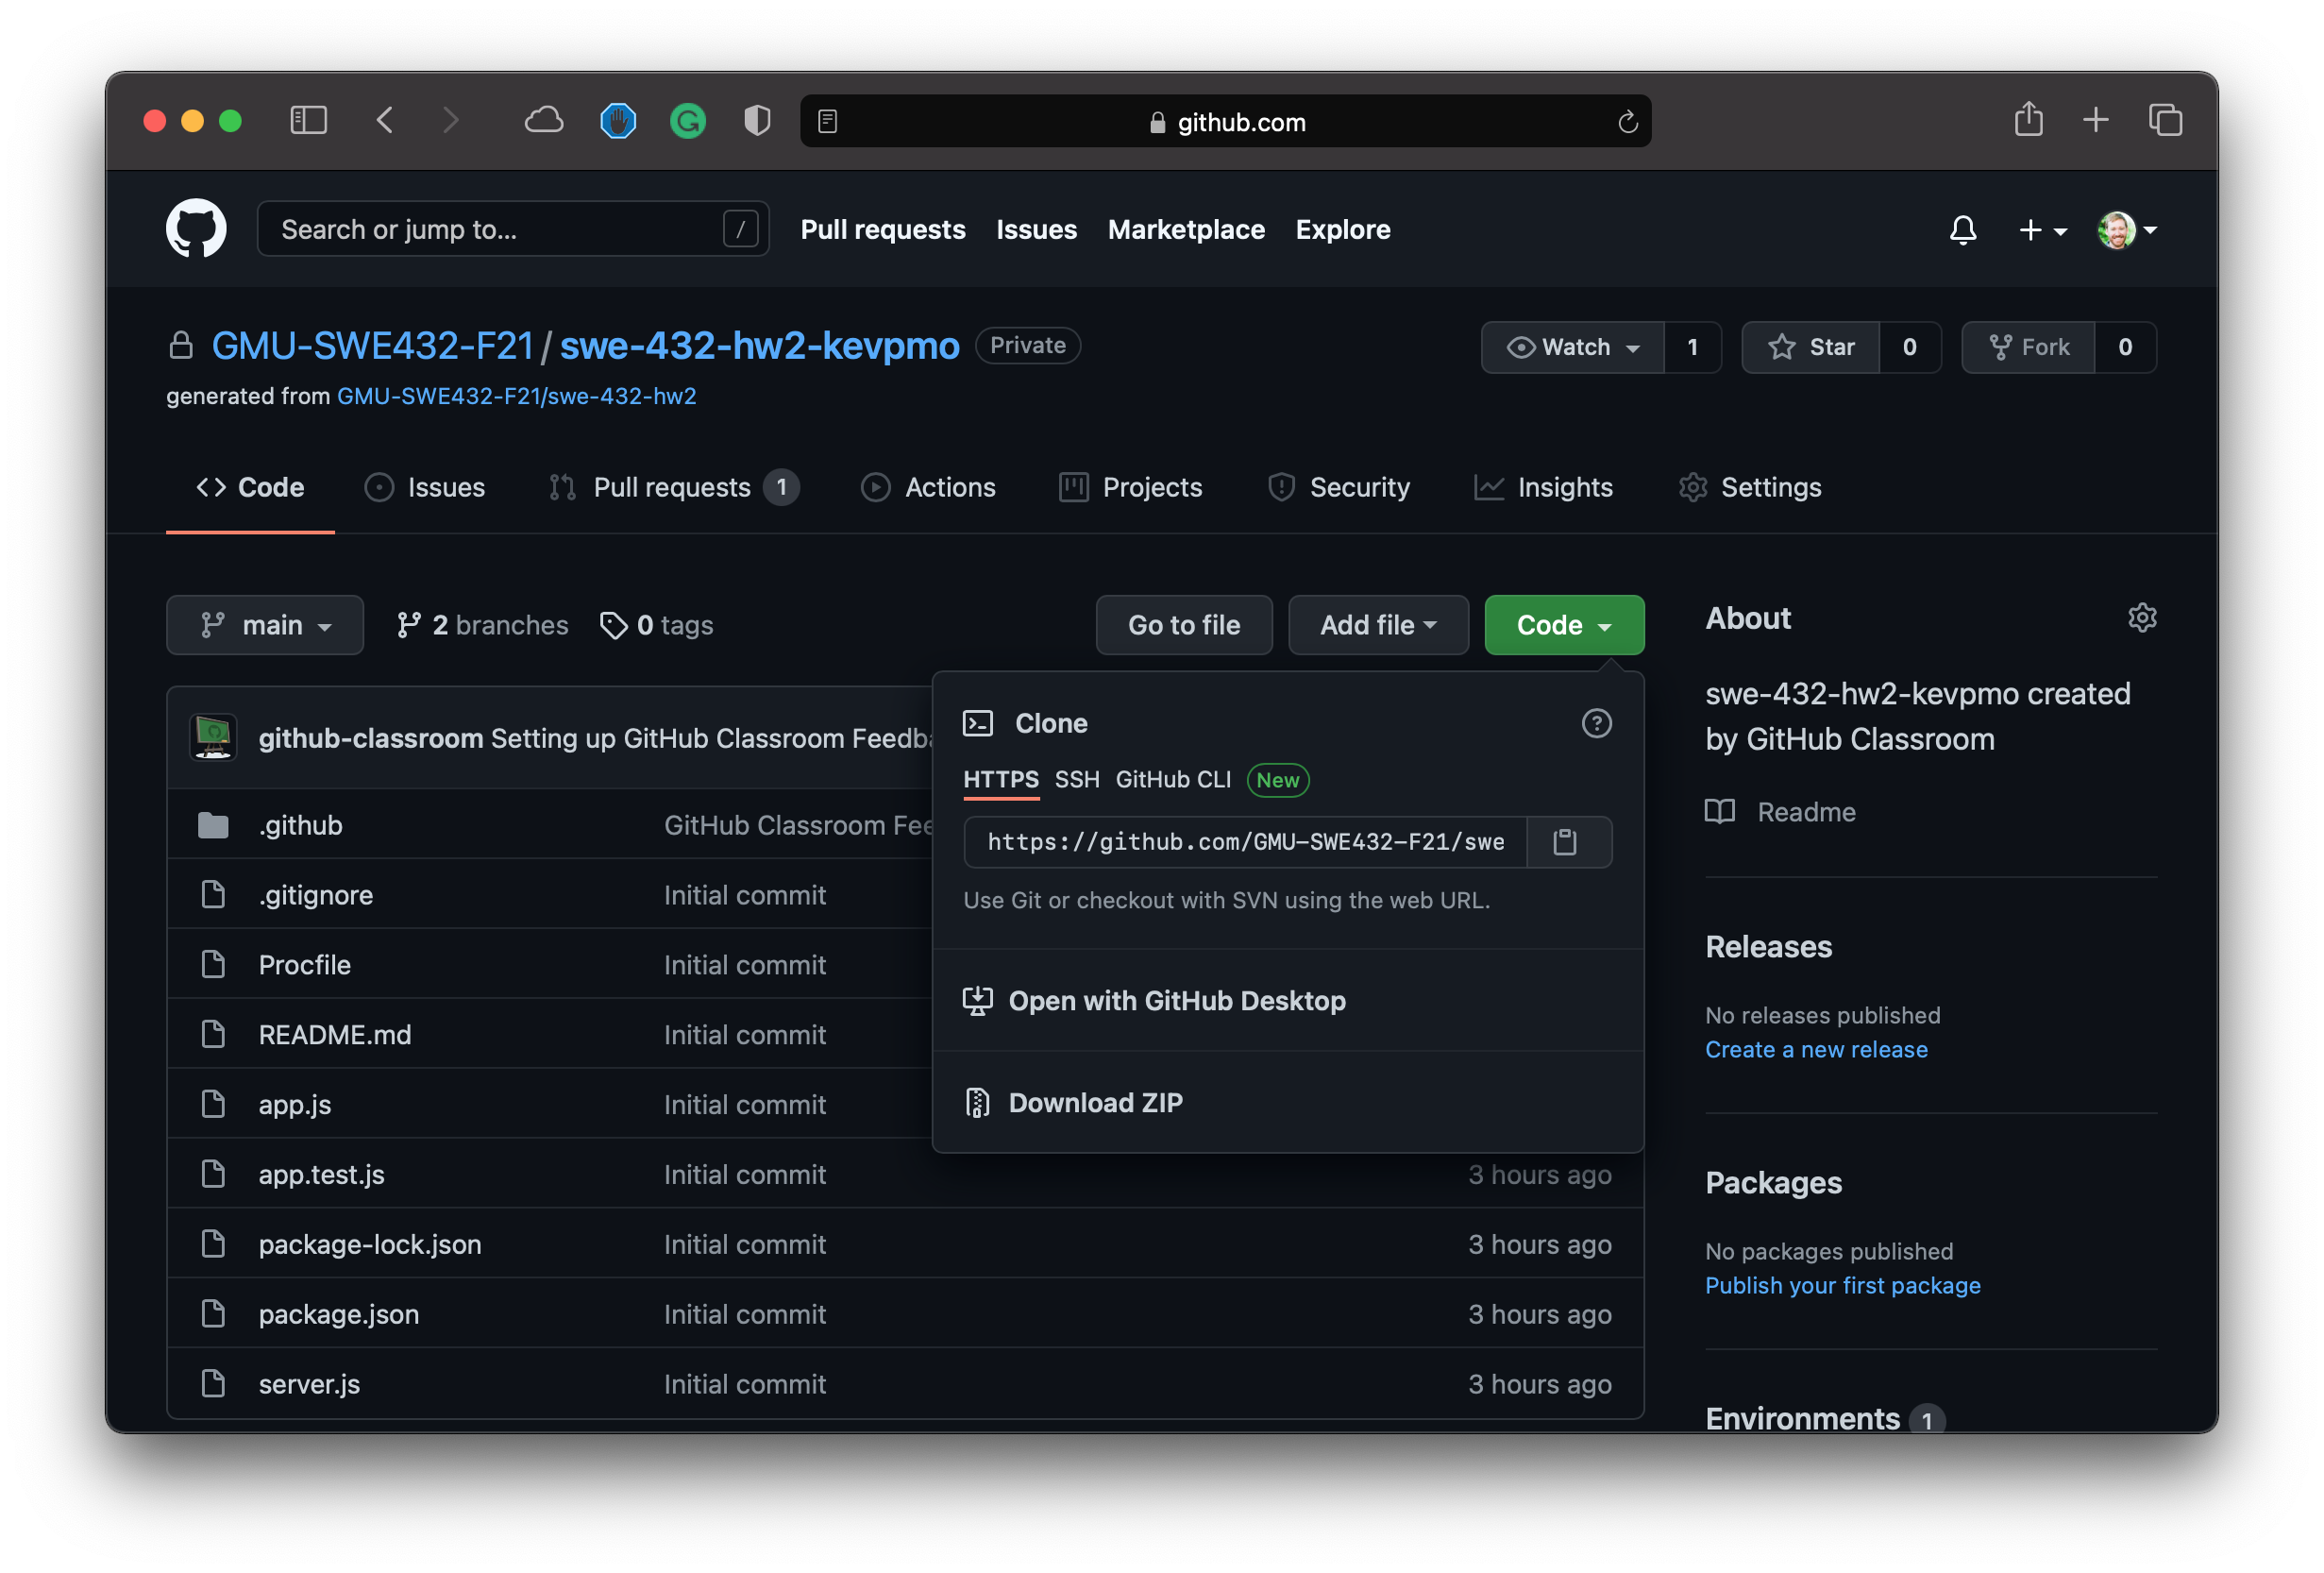
The first thing that you will need to do is clone the repository that GitHub Classroom created for you. To do this, navigate to your repo page and click on the "Clone" button, and then copy the url that is displayed by clicking on the clipboard icon as shown in the image below.
Next you will need to clone the repo from the command line. To do this, you can execute the following command. Note that you only need to run this command once.
1 | |
Tip
Make sure you navigate to the local directory where you would like your repository to be located before you clone your repo.
Note
Note that GitHub recently changed how it handles authentication. As such, you may need to set up an ssh key, use a personal access token, or authenticate using OAuth. Check out this article for you can set up command line access. Feel free to post any questions to Ed.
Deploying your Microservice Locally
Now that you have cloned the repository by downloading it to your machine, you can deploy it locally to quickly check changes using an application such as Postman without having to push your code to GiHub and deploy to Heroku.
To deploy your application locally, you can use the following commands:
1 2 3 4 | |
This will deploy a running version of your microservice at http://localhost:6000 and a version of your React frontend running at http://localhost:3000.
Additionally, you can start and stop the express and React servers independently from one another. This can be useful if you are debugging or changing information from only one of these services. You can do this using the following commands:
1 2 3 | |
Editing Code
Now that you know how to run your code locally, you can start to work on your project by editing your code!
To do this, you can use your Text Editor or IDE of choice. Some potential options include vim, Sublime Text, Atom, and VSCode among many other options. Feel free to use whatever editor you feel most comfortable with for this homework assignment.
Using Postman to Debug and Test your API Endpoints
Throughout the development process, you may wish to test or debug the behavior of your API endpoints. To do this, you can use the Postman app to send various types of requests.
First download Postman here.
Then, once the application is installed, you can create a new entry and send requests using the interface as seen below.
Running your Jest Tests Locally
While the tests that you write will be automatically executed each time you commit your code to your repo, you can also run these tests locally to get an idea of their behavior before you commit and push your changes to the remote GitHub repository.
To run your tests locally, you can run the following command within the directory of your project:
1 2 | |
You will then see the output of the tests and whether or not they passed successfully.
Pushing your Local Changes to the Remote Repo
Reuse the following commands every time you need to send your changes to GitHub, in a terminal command-line window. Run these commands from your same project folder.
1 2 3 | |
The text in quotes should explain what this current commit is doing and should be clear and explicit to avoid creating maintenance debt. The idea is to document why you made the changes so that everyone who wants to contribute to your project understand, including you after a month not looking at the file.
Note
You may asked to authenticate with GitHub the first time you push. If you push again without changing anything, you will get the message “Everything up-to-date.” That's a good way to check if your repo is synchronized with your computer.
Examining Jest CI Test Results in GitHub Actions
The starter GitHub repo is set up to run the Jest tests in the app.test.js file upon each commit to the main branch of the repository. If any of the tests fail, the CI process will fail and this will be indicated with red "X" on the main page of your repo, and GitHub will likely also send you a notification email that your automated tests have failed. You can view the errors by clicking on the red "X" and checking the test logs.
Currently, the tests are configured to run via GitHub Actions by getting deployed to a remote virtual server with an Ubuntu operating system, where the npm install and npm run test:backend and npm run test:frontend commands are executed. We don't anticipate you needing to change this configuration, as it is fine to keep all of your tests in the app.test.js for this assignment.
Note
Note that since they are not required for this assignment, you can disable the CI tests running by deleting the .github folder from your repository.
Submitting Your Assignment
Updating your Project README
In order for your assignment to be considered for grading, you must be sure that you fill out the following information at the top of your README file and ensure that this is up to date in your GitHub repo.
- Student Name
- Student G-number
- Heroku Deployment URL
- Description of your Web App, 2API Endpoints and 3 React Components
Warning
Failure to include this information in your submission is likely to result in a zero for the assignment!
Submission Protocol
There is no formal submission process for this assignment. We will simply grade the last commit to the main branch of your repository before the deadline of 12:00pm on Thursday, April 13th. If you make a commit after the deadline, we will grade the latest commit and your assignment will be considered late. Per our course policy, assignments submitted over 48 hours late will not be accepted.